I've just installed my Photoshop 7.0 upgrade. I decided to take
you with me, as I examine the latest changes to my favorite program.
I've installed to a new folder, leaving my old version 6 intact. I may
never use it again, but it's there as a safety net, just in case. This
makes me feel better.
I opened the program and declined to make any changes to my color
profiles. I always do that until I see whether things are actually not
working right. My philosophy is, "If it don't need fixing, don't break
it."
I clicked on the Rectangular Marquee tool, which is still comfortably sitting in its accustomed place. Then I tried my shortcut - M - to see if it would switch me to the Elliptical Marquee. it didn't.
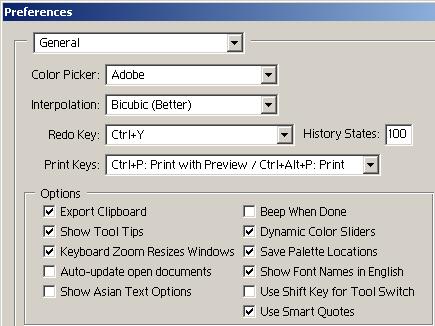
That meant a quick trip to the Preferences dialog box was in order. In General Preferences, I made these changes:
I DON"T like having ctrl-Z toggle between undo and redo, so I set Redo to Ctrl-Y. This makes Undo/Ctrl-Z go back-back-back in the History. I've also changed the History States to 100. This might be high, but I have lots of memory, and I tend to work on small files because most of my work is done for lessons. So it suits my needs. Depending on how you work, you may need a lower History State setting. Just remember to make snapshots any time you change canvas size, or when you get to a critical stage of work, and you'll be fine.
I do want the Clipboard to export, because I tend to work between several digital art programs at the same time.
Oh - I also unchecked that "Use Shift Key for Tool Switch" box, which was the original reason I came to Preferences.
The rest are pretty standard.
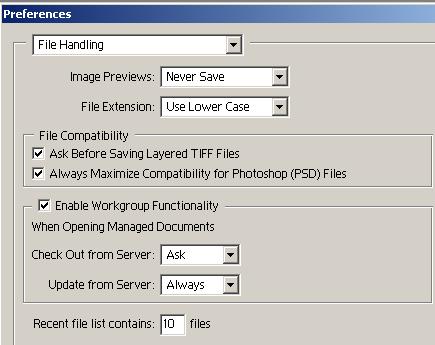
In the File Handling window, I decided not to save image Previews because my version of Windows automatically shows thumbnails of my images.
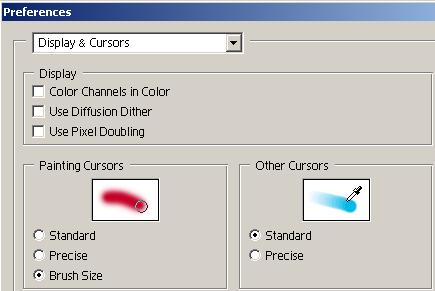
Nothing new in Display and Cursors, since the default was set to Brush Size, a couple of versions ago. I used to take my students here and have them choose that setting before we did anything else.
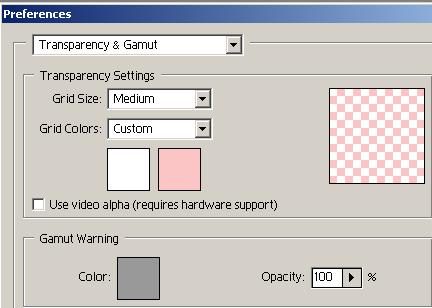
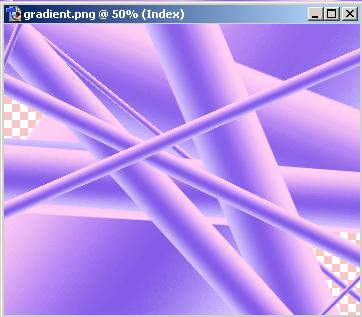
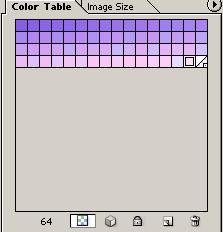
This is a change I always make. I just don't like the depressing look of the gray transparency grid.
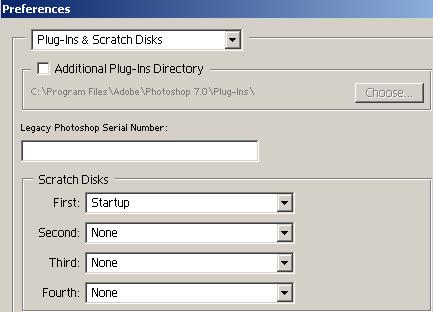
The only other thing to change is the Scratch Disk. If you have a second
hard disk, or if you have partitioned your drive, Photoshop likes to have
one all to itself. If you don't have one (I don't) just keep your hard
drive defragmented. Photoshop still likes a single large contiguous clean
portion of the disk to use. If your disk is badly fragmented, it might
give you error messages. (Although I haven't seen one since version 5.0,
I can't be sure it doesn't still act this way.)
Looking through the toolbox, aside from the buttons sort of popping out at me, the most important change from version 6 seems to be that the Airbrush has disappeared. Instead, I find the Healing Brush and the Patch Brush, both of which I am rather impressed with - but that's a topic for lessons, and not for an "I just installed the Upgrade" page.
So where is the Airbrush? Remember when it was "A is for Airbrush"? I used it then. After it became "J is for Airbrush" I don't think I ever used it again. Well, now it's "J is for Healing Brush," which doesn't make much sense unless you've been hanging out with the program as long as I have. In which case it makes perfect sense to assign the previously unused (version 4) and illogical (versions 5 and 6) J key to the latest brushes.
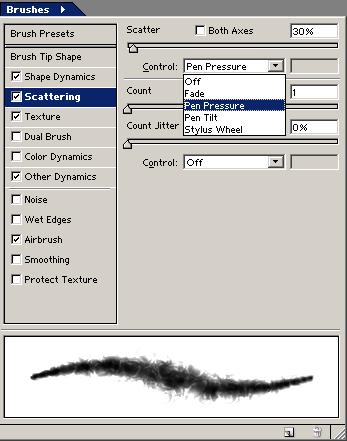
So what about the Airbrush? Well, as it happens, you can now set any brush to behave like the Airbrush.
![]()
Type B for brush, and notice the options bar. See the little Airbrush icon at the right? Type a number to set the pressure, (okay, flow, pressure, whatever) and you're in business.

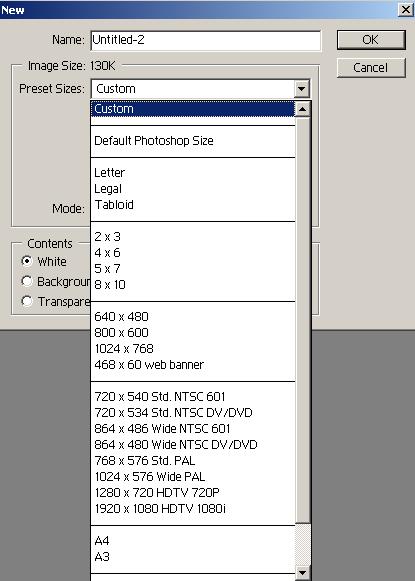
When opening a new canvas, I noticed a new ability to set the image
size. Normally, choosing File > New (ctrl-N) will open a canvas with the
dimensions and settings of your last Copy. But now we have Preset Sizes.
There are quite a number to choose from, including a Default Photoshop
Size. I found this to be a 5x7 canvas, like a little photo.
While we're talking about the canvas dimensions...
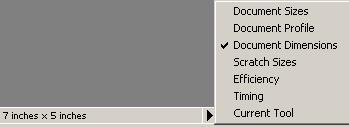
...down on the Status bar, an entry has been added. You can now display the Document Dimensions on the status bar. I like that. Normally I keep this set to Efficiency, and probably will continue to do that, but it's good to be aware of the size of the image I'm working on.
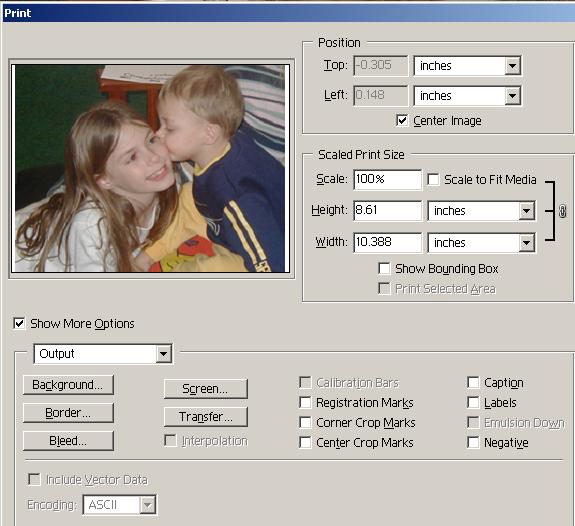
Of course, clicking that area (where you see 7 inches x 5 inches in
the image above) still shows how your image will display when printed on
a sheet of paper.
Picture Package has a new look. (File > Automate > Picture Package.)
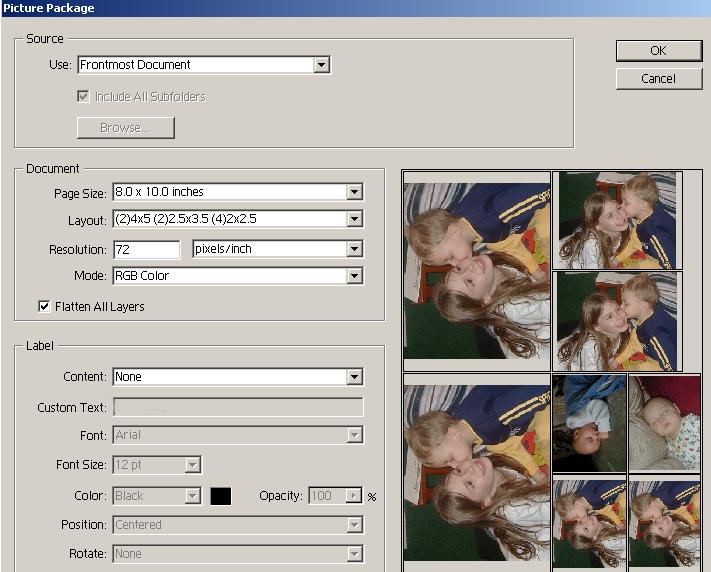
You can still print a sheet of photos, as before, but now you can change some of those to include different images.
Ctrl-P brings up a Print Preview screen instead of just sending to the printer, but you can turn it off if you don't like it. Personally, I kind of like seeing how it's going to come out before I commit my printer.

Filter preview windows are larger. Most of them have a Preview check box which lets you see your effects directly on the image, but for those that don't, this is useful, unless the enlarged preview window covers your image.
Other than this, there seem to be no changes in the Filters.
Shapes
There are a lot of new shapes you can use in this version, as well as new textures you can apply. I like the textures.
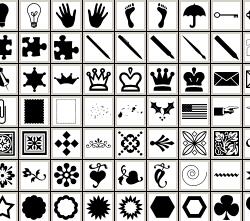
some of the new Shapes
This is a Shape filled with a Style and with a Drop Shadow added.
These features existed in version 6, but have been enhanced with the
new shapes and styles.
You can also add effects to your brushes, which are like the Layer Effects - Drop Shadow, Inner Glow, etc.
And you can save your presets for future use. For photo retouching,
this may not mean too much, but for people who want to do some painterly
original work, these could be very interesting additions. The limitations
of Photoshop's brushes has always been kind of a sore point.

These are Adobe Illustrator drawings. I was pleased to see they showed
up in the File Browser.
That's a quick look at the Photoshop 7 new features. Many of these tasks could be done in Photoshop 6, if not quite as easily. I think there have been some nice things added. Certainly enough that if you are still using version 5.x, you should give serious consideration to the upgrade. If you're using version 6, it's got to be your own opinion that makes you go for the new version. I usually recommend upgrading every-other-version.
If there are other new features that you've noticed and I haven't, let me know, and I'll add them to this list. Or if there's something you wanted to know about, or can't find anymore, just post a message, either to the mailing list or to the school's discussion board.
If you post to a mailing list, be sure you put my name in the message if you want to be sure I see it. I filter messages with my name in them to a special folder, and I don't always read all the other messages to the lists.
I hope this helps.